Hello! My name is Julia Welch and this is my capstone. I am a CFX Artist and Rigger, so for my capstone I wanted to create a groom with xGen in Maya that I would eventually attach to a rig. In addition to this, I wanted to explore the use of curls within xGen. Before this capstone, I already participated in an independent study with Professor Monika Salter to explore creating textured hairstyles where I created a poodle groom, so this capstone is a continuation of that exploration through the use of a curly space bun hairstyle.

Cosmic Curls
Final Groom


Process
1
The first step to creating a groom is to create a texture call-out sheet. This will set up how the groom should look in the end and also display references that I can draw inspiration from.

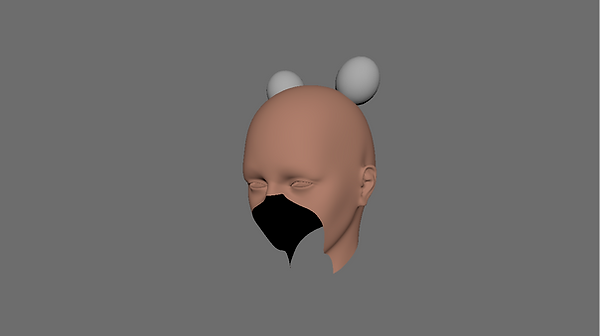
2
Now I was able to open Maya and make gro geometry based on the ren geometry of the character. This is important because it creates a more defined area of where I want hair to grow.
3
Next, I created all the different descriptions of my groom. Each description represents a different portion of the hair, i.e. the bangs, buns, eyebrows, and the rest of the hair. These descriptions allow for me to affect all of these parts separately.

4
With the descriptions created, I exported the gro geometries as obj files and uploaded them to Mudbox to create ptex maps. I created four seperate maps, one to control the density (which controls how much hair grows in certain areas), creating a region map (which helps with creating a part in the hair), and two maps for the clumps of the hair.

5
After exporting the ptex maps and putting them in the xGen files of my project, I finally could place guides for each description. Guides control how long the hair will be and what direction they will go. This step usually takes the longest because they determine the final shape of the groom.

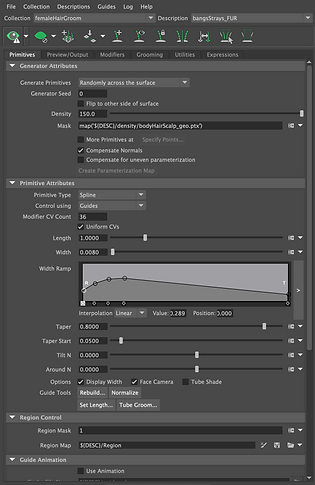
6
With the guides placed, I could go in and adjust the cv count, length, width, and density of the hair in the primitives window of the descriptions. This controls how dense the hair will look, as well as allow the hair have more points where it can bend.

7
Next, I created modifiers such as noise, cut, and clump. This allows the hair to feel more natural instead of just being a bunch of even length straight hairs. They can add some wave to the hairs, randomize the length of each hair, and bunch the hair together.

8
To create the curls in the hair, I utilized the clump modifier in each description. By using the noise, offset, and curl effects, I was able to create different curl effects for each description.

9
The final step I did was to create stray hairs for each description. To do this I duplicated each description, decreased the density of the descriptions, and increased the noise effect. This created fly away hairs that made the groom feel more natural.

Related Work


